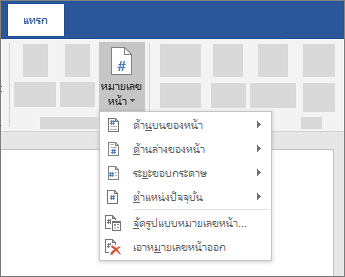
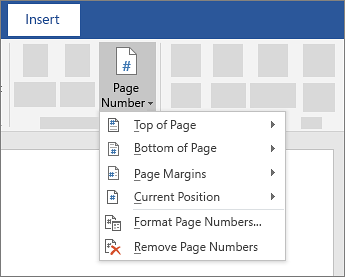
| 1. เลือก แทรก > หมายเลขหน้า จากนั้น เลือกตำแหน่งที่ตั้งและสไตล์ที่คุณต้องการ | |
|---|---|
 |
|
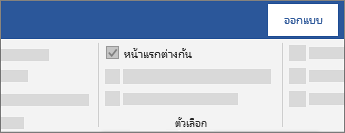
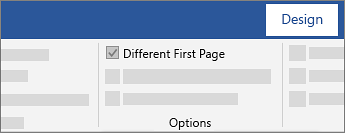
| 2. ถ้าคุณไม่ต้องการให้หมายเลขหน้าปรากฏบนหน้าแรก ให้เลือก หน้าแรกต่างกัน | |
 |
 |
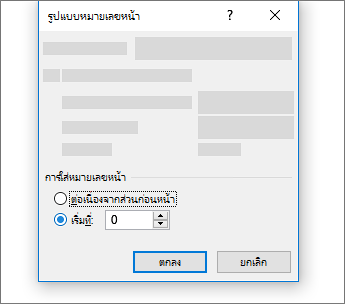
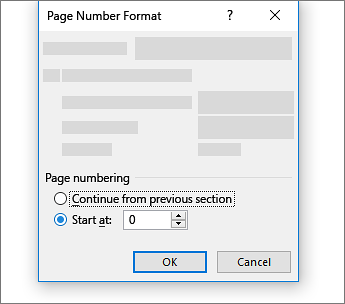
| 3. ถ้าคุณต้องการเริ่มต้นด้วย 1 บนหน้าที่สอง ให้ไปที่ หมายเลขหน้า > รูปแบบตัวเลขหน้า และตั้งค่า เริ่มต้นที่ จนถึง 0 | |
 |
 |
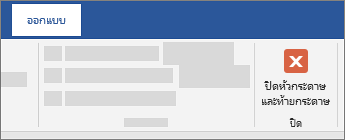
| 4. เมื่อคุณทำเสร็จแล้ว ให้เลือก ปิดหัวกระดาษและท้ายกระดาษ | |
 |
 |
| เคล็ดลับ: เมื่อต้องการกลับไปยังหัวกระดาษหรือท้ายกระดาษเพื่อทำการเปลี่ยนแปลง ให้ดับเบิลคลิกที่ในพื้นที่หัวกระดาษหรือท้ายกระดาษ | |
| 1. วางเคอร์เซอร์ของคุณในตำแหน่งที่คุณต้องการเพิ่มสารบัญ |
|---|
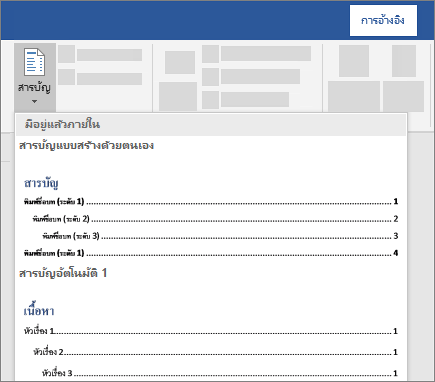
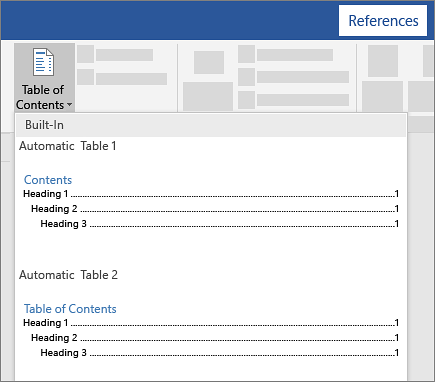
| 2. ไปที่ การอ้างอิง > สารบัญ และเลือกตารางอัตโนมัติ 1 หรือ ตารางอัตโนมัติ 2 |
|
| 3. ถ้าคุณทำการเปลี่ยนแปลงในเอกสารของคุณที่มีผลต่อสารบัญให้อัปเดตตารางของเนื้อหาด้วยการคลิกขวาที่สารบัญแล้วเลือกอัปเดตฟิลด์ |
| Create the table of contents |
|---|
| 1. Put your cursor where you want to add the table of contents. |
| 2. Go to References > Table of Contents , and choose Automatic Table 1 or Automatic Table 2 . |
 |
| 3. If you make changes to your document that affect the table of contents, update the table of contents by right-clicking the table of contents and choosing Update Field. |
| Get the learning guide |
| For a hands-on guide that steps you through the process of creating a table of contents, download our Table of Contents tutorial. Or, in desktop Word, go to File > New, and search for table of contents. |